White shoes do not usually lose their fresh appearance because of one difficult stain. The more common problem is an accumulation of dust, moisture, detergent residue and rushed cleaning. Scrubbing every material with the same brush or drying a wet pair beside a heater may make the surface look uneven even after the dirt is gone. This guide explains how to clean white leather, mesh, textiles and rubber in the correct order while reducing the risk of yellow patches and deformation.
Begin with a material check, not a cleaning product
Before preparing any solution, identify every material used in the shoe. A single pair may combine coated leather, textile mesh, rubber, synthetic overlays and glued decorative details. Each section can react differently to water, pressure and household cleaning mixtures.
Customers comparing everyday sneakers, lightweight shoes and classic models can review the construction of available pairs among the current footwear offers from PASSAGE.
A simple pre-cleaning checklist
- Read the care label or the manufacturer’s instructions.
- Remove the laces and detachable insoles.
- Brush away loose sand before adding moisture.
- Test the chosen product on an inconspicuous area of about 1 × 1 centimetre.
- Wait at least 10 minutes and check for changes in colour, texture or shine.
A spot test is especially important for white shoes because even a small difference in tone becomes visible. Do not assume that a product suitable for a rubber sole is equally safe for leather or woven mesh.
Use the first hour after staining wisely
A fresh mark should be blotted rather than rubbed. Press a clean white cloth against moisture or grease, lift it away and repeat with a dry section. Rubbing immediately can push dirt deeper into textile fibres or spread it across a larger area.
- Allow wet mud to dry before brushing it away.
- Use one brush for the upper and a separate brush for the outsole.
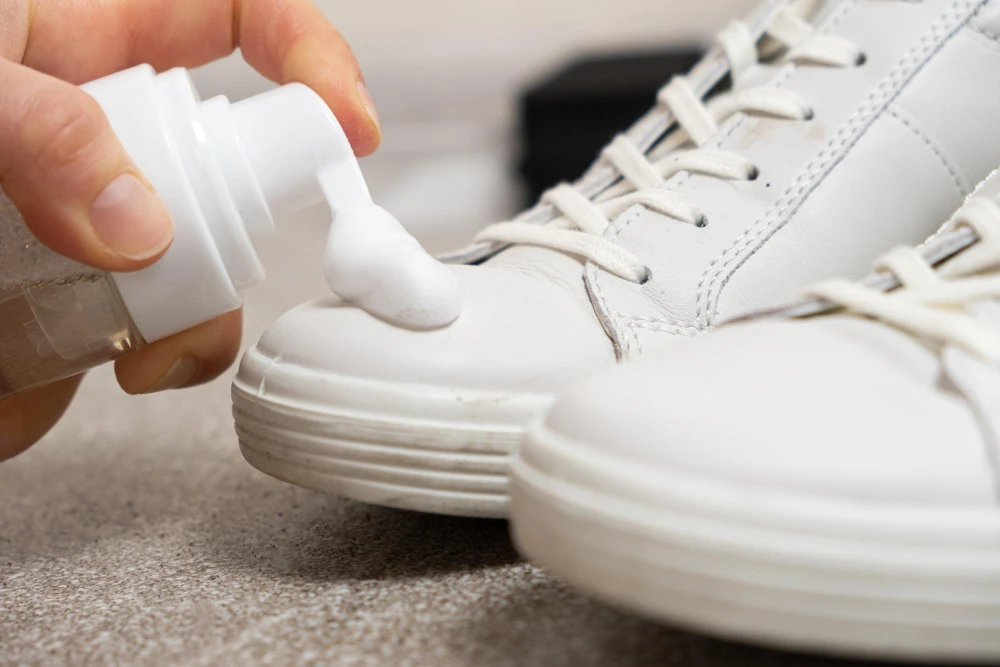
- Apply the cleaning solution to the cloth or brush, not directly to the shoe.
- Work in sections approximately 5–7 centimetres wide.
- Move from the outer edge of the stain towards its centre.
- Remove foam after every section with a second, slightly damp cloth.
The shape, flexibility and combination of materials are often easier to assess in motion. These details can be viewed in the short footwear videos published by PASSAGE.
Match the cleaning method to the upper
Smooth leather and coated synthetic surfaces
Do not soak the upper. Wipe away dust with a dry microfibre cloth, then use a second cloth moistened with a weak neutral solution. Clean with light strokes instead of repeated hard scrubbing. Finish by removing all residue with clean water on a separate cloth and dry the surface immediately.
PASSAGE offers footwear made from different materials, so the required care should be considered before purchase. General information about the store and its range is available through the PASSAGE company profile on Mytrade.kz.
White mesh and woven textiles
Mesh should be cleaned in the direction of the weave. Pressing too firmly can stretch the openings or roughen the fibres. Nike’s care guidance describes a paste made with two parts baking soda and one part water for light mesh. The mixture is left for about 30 minutes and then removed completely with a damp cloth.
This method should not be applied automatically to suede, natural leather, coloured inserts or delicate bonded details. A weaker solution and a shorter contact time are safer starting points when the material is uncertain.
Canvas uppers
For white canvas, Nike also describes a mixture containing one tablespoon of baking soda, two tablespoons of white vinegar and one cup of water. Use only a small amount at a time, avoid saturating the lining and remove the mixture thoroughly after cleaning. More product does not necessarily produce a whiter result; it often leaves more residue to rinse away.
Rubber midsoles and outsoles
Clean rubber last so that dirt from the sole is not transferred back onto the upper. A small toothbrush can reach grooves and textured edges, but pressure should remain controlled. Do not continue scrubbing once the rubber begins to feel warm or tacky.
More visual comparisons of casual footwear and styling options can be found in the Mytrade.kz collection of short videos.
Why a clean white pair may develop yellow marks
Yellow or grey patches that appear after drying are often linked to detergent left in the material, uneven wetting or exposure to excessive heat. A heavily foaming mixture can remain between textile fibres even when the surface looks clean. As moisture evaporates, the residue becomes concentrated around the edges of the treated area.
Common mistakes to avoid
- Using chlorine bleach without explicit approval from the manufacturer.
- Mixing several household products during one cleaning session.
- Scrubbing the upper with the same brush used on the outsole.
- Leaving foam in seams, around eyelets or beneath overlays.
- Drying the pair in direct sunlight, beside a radiator or with a hot hair dryer.
- Putting protective spray on a damp or partly cleaned surface.
Care advice and new footwear-related materials are published in the PASSAGE news and offers section.
Drying is part of cleaning, not an afterthought
After the final wipe, press a dry towel against the upper without twisting it. Fill the shoes with plain white paper or use shoe trees to support the toe box. Avoid printed newspaper because ink may transfer to a pale lining.
Adidas recommends air-drying footwear at room temperature and away from direct sunlight. Depending on the construction and the amount of moisture absorbed, drying may take a full day. Laces and removable insoles should be dried separately and returned only when every component feels dry inside and outside.
Ventilation is also relevant after ordinary wear. An NHS podiatry resource notes that the feet contain approximately 250,000 sweat glands. Even when the outside of a shoe appears dry, moisture may remain in the lining and insole. Alternating pairs gives the interior more time to release it.
Different shoe types, materials and seasonal options can be compared through the Mytrade.kz marketplace.
A seven-minute routine that reduces major cleaning
- Spend one minute brushing dry dust from the upper.
- Use two minutes to wipe the rubber edge and heel.
- Inspect seams, eyelets and the toe area for fresh marks.
- Blot local stains instead of washing the whole shoe.
- Loosen the laces to improve airflow inside the pair.
- Leave the shoes in a ventilated place for several hours.
- Store them only when the lining and outsole are fully dry.
Keep a dedicated white microfibre cloth for light footwear. A coloured cloth can sometimes release dye when wet. Wash white laces separately, because clean laces often improve the appearance of the entire pair without another full cleaning.
Useful care intervals
- After each wear: remove loose dust and inspect new marks.
- After rain: dry naturally and clean the outsole separately.
- Every few wears: wipe the upper according to its material.
- Before storage: make sure the interior is dry and the surface is free from detergent.
- Before applying protection: clean, dry and test the surface first.
White stays brighter when care remains controlled
The safest routine is rarely the most aggressive one. Early stain treatment, separate tools for the upper and sole, a weak solution and slow room-temperature drying usually provide better control than soaking or intense scrubbing. Because PASSAGE presents models with different structures and materials, the care method should always follow the requirements of the specific pair rather than a universal household recipe.
Before wearing a new pair for an entire day, it is also useful to read the previous guide to breaking in new shoes without damaging their shape.